For this assignment, I modeled my coin organizer idea that I described in my fabricating for a function part 1 journal entry. I think my model came out very well and I learned a lot from the process of constructing this model. The first thing I did was research the sizes in millimeters for the 4 coins. I found that the penny was 19.05mm, the dime was 17.91mm, the nickel was 21.21mm, and the quarter was 24.26mm in diameter. Because I wanted the casing to be strong enough to support the coins, I knew I wanted to make the walls 2mm thick. So I made a sketch including 4 circles which were all 3mm larger than their respective coins.
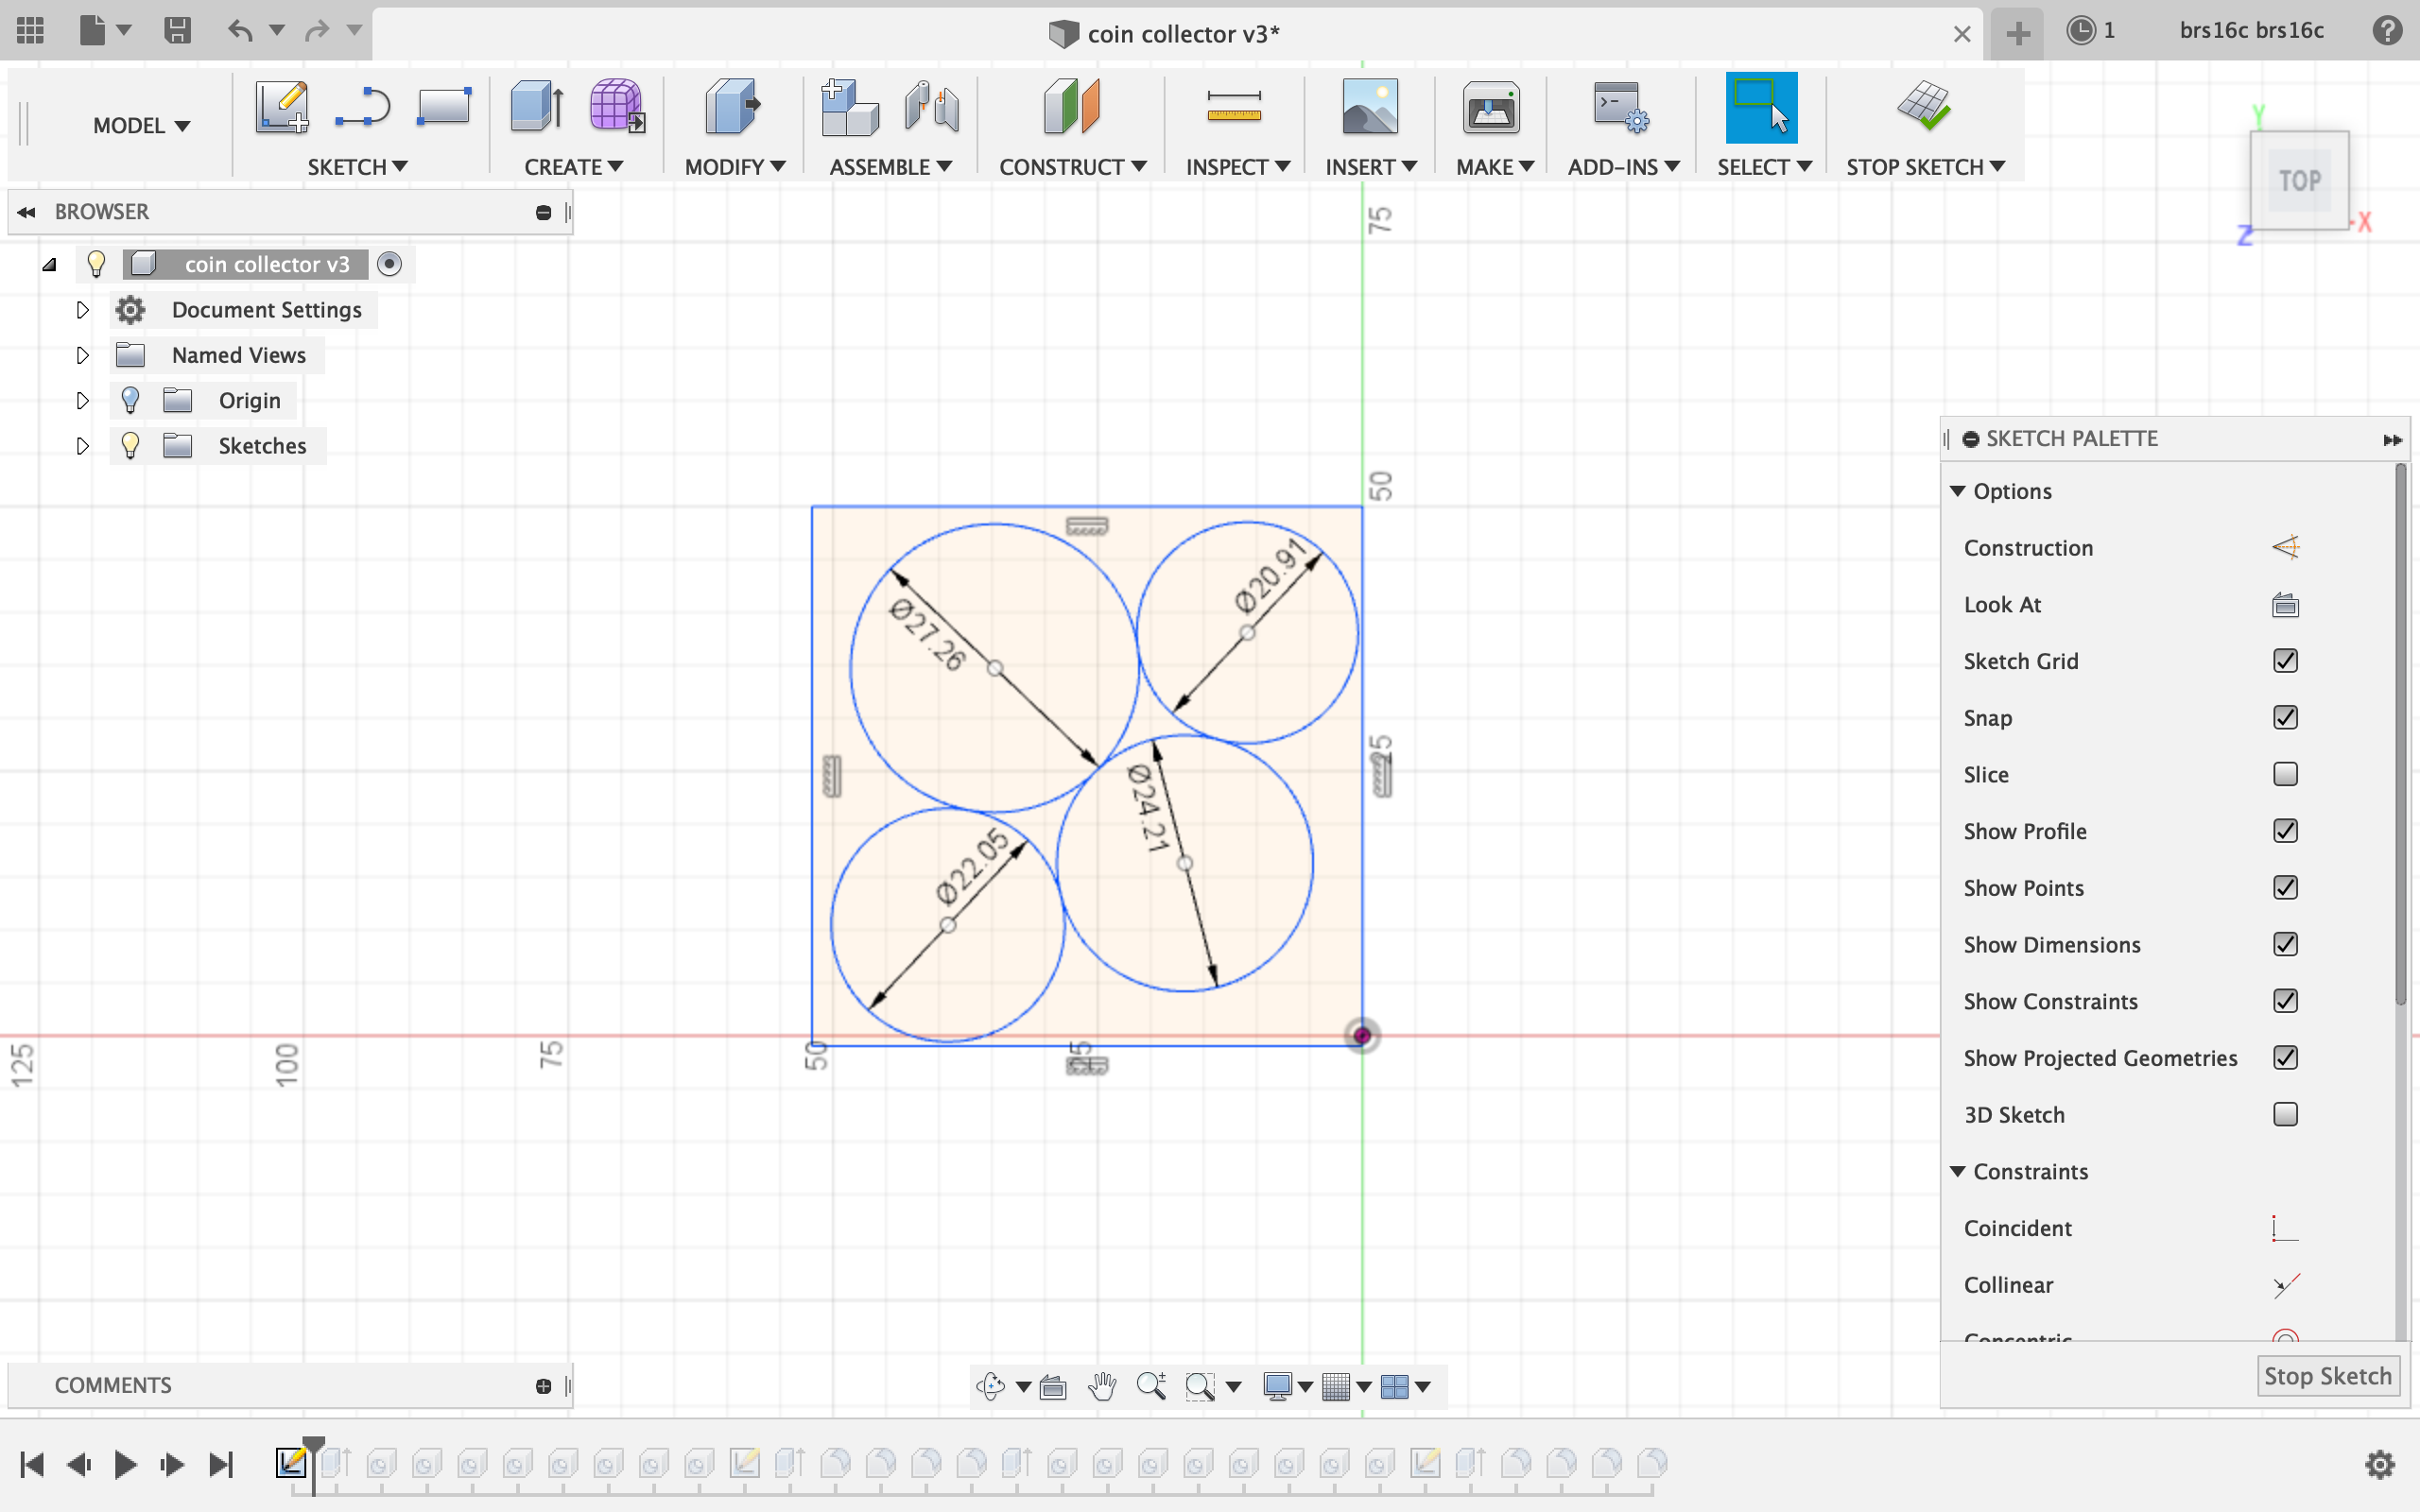
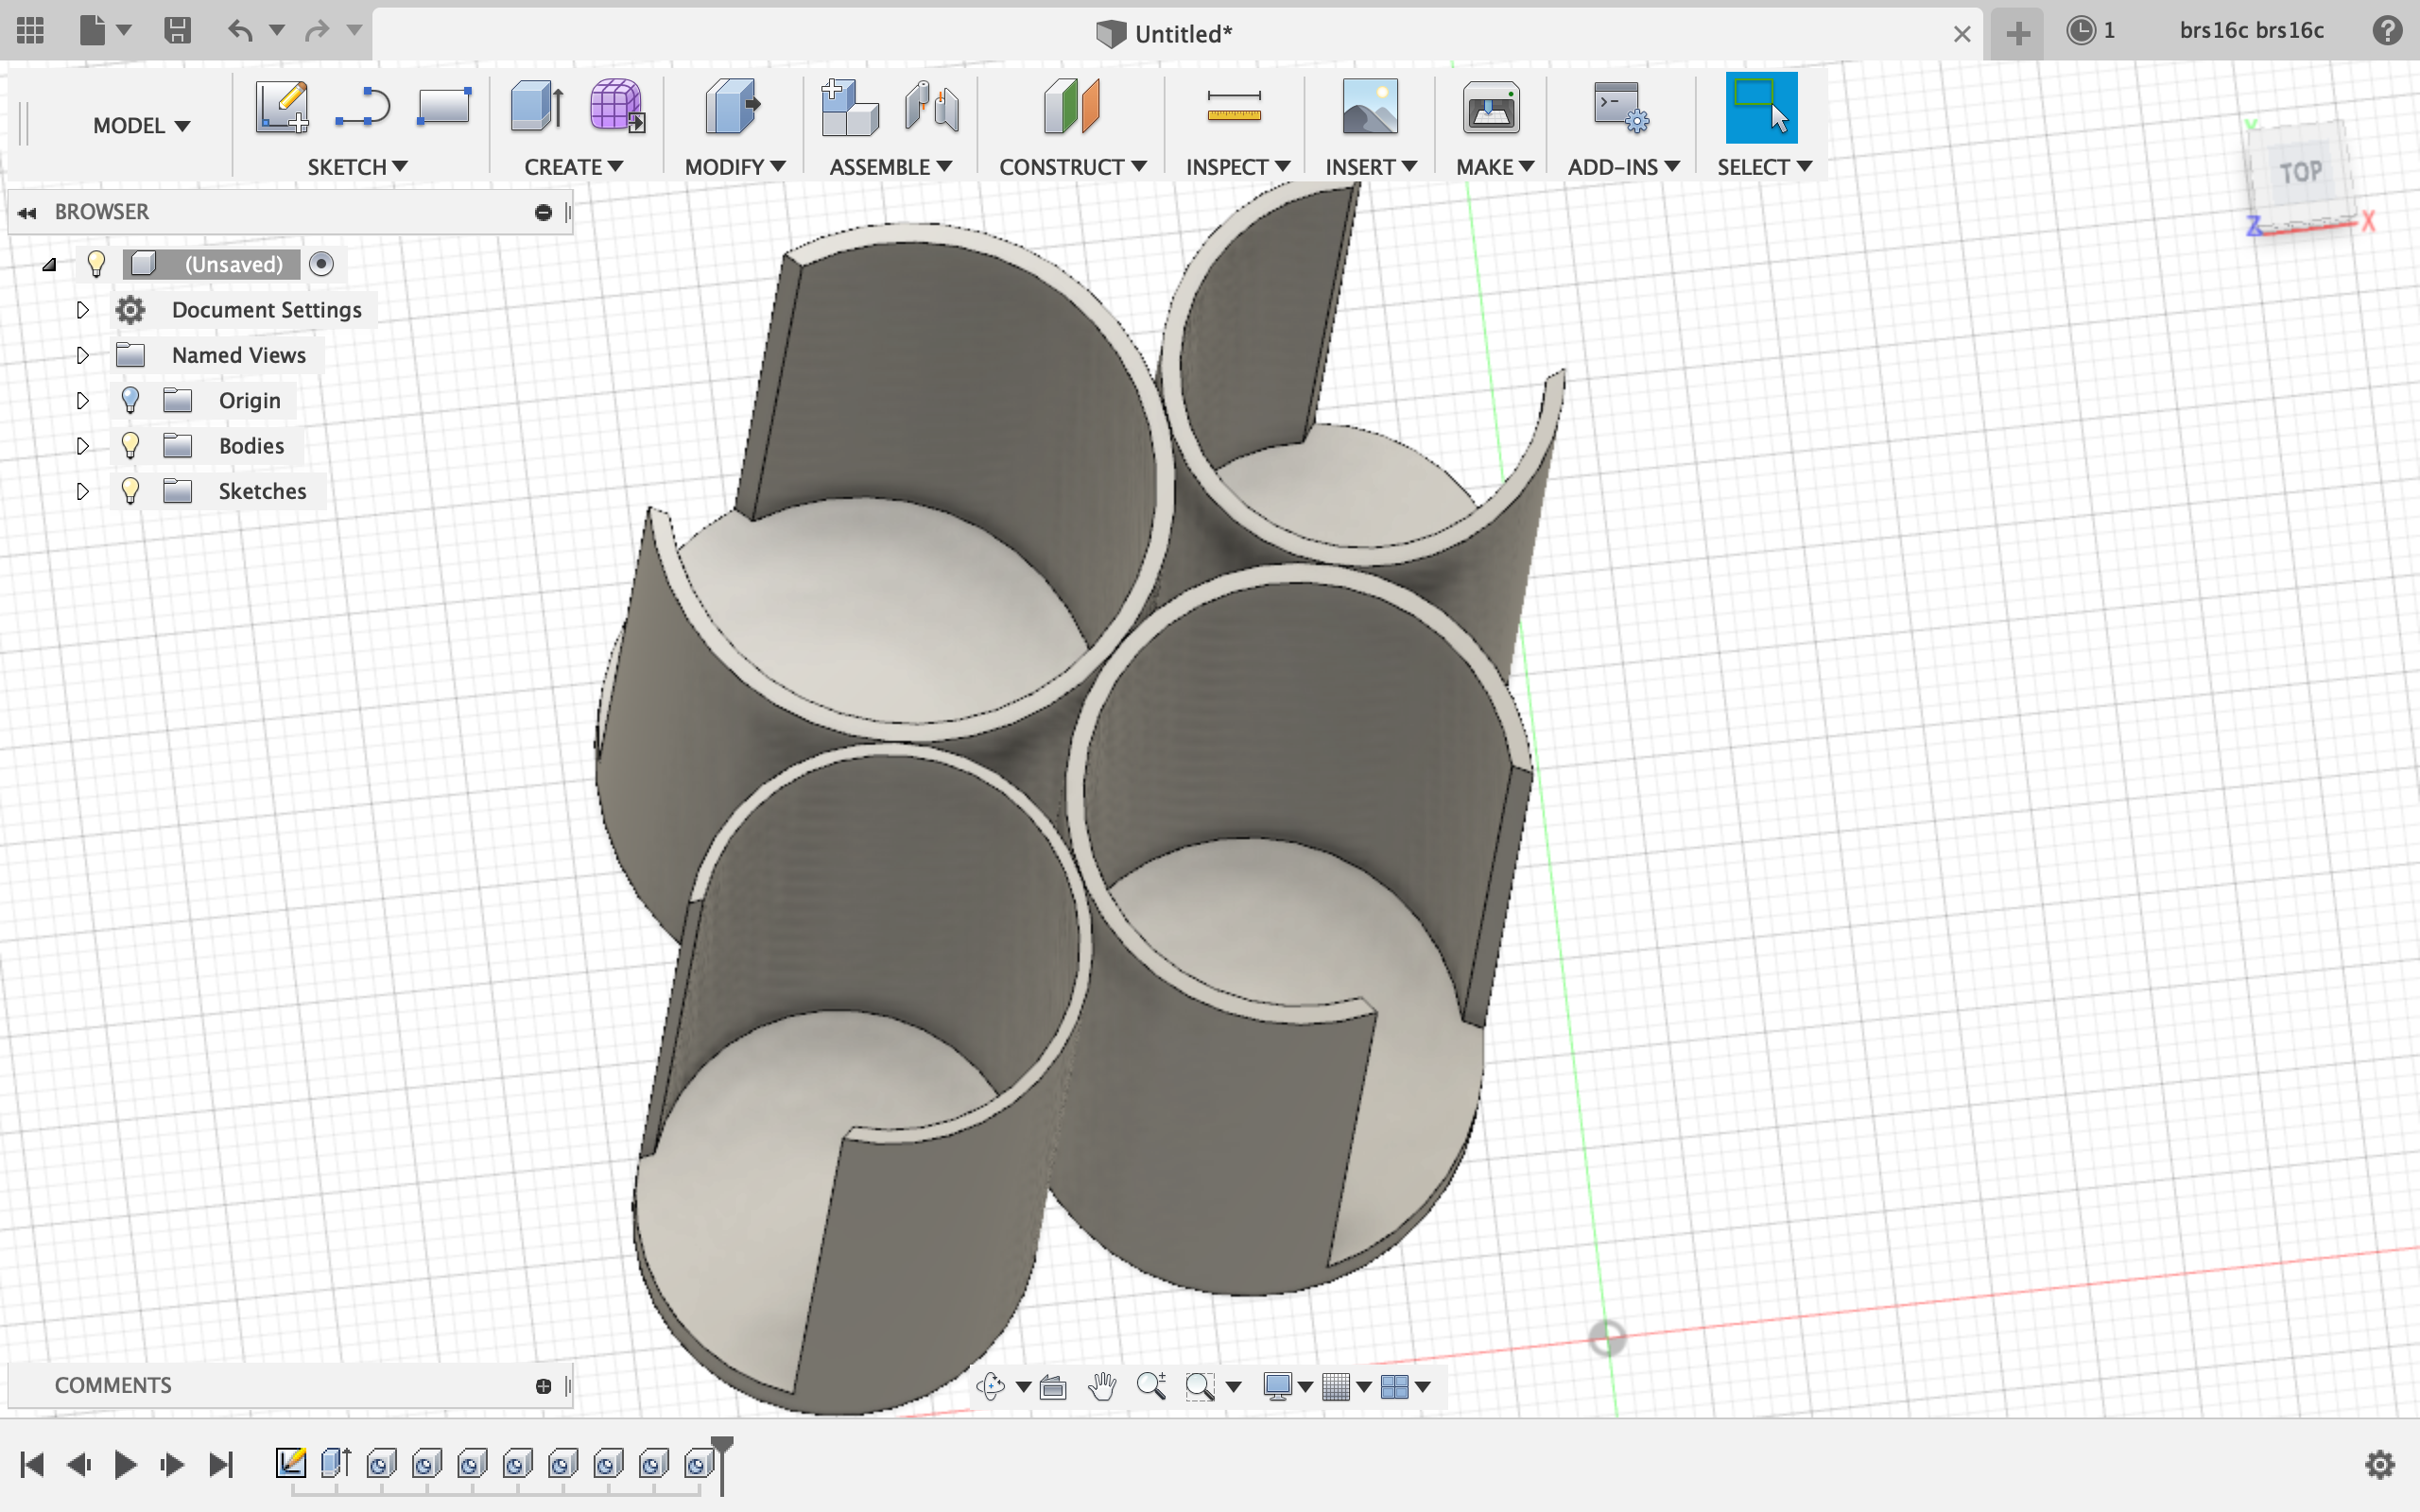
The only difficult part in creating this sketch was positioning the circles to be touching each other, but not overlapping. To make this happen, I had to zoom in pretty far in order to fine-tune the position of each circle. Another issue I ran into was that I wanted to create a break in the sketch in order to make a place to put your finger to pull coins out, but I could not find a tool to do this. Under the sketch tab, I tried both the trim and break features, but neither of these tools would break my circles. I got around this obstacle by deciding the extrude all 4 circles and create two holes: one on the middle where the coins will fit, and one partially in the side of each circle which would create a place for your finger to fit.
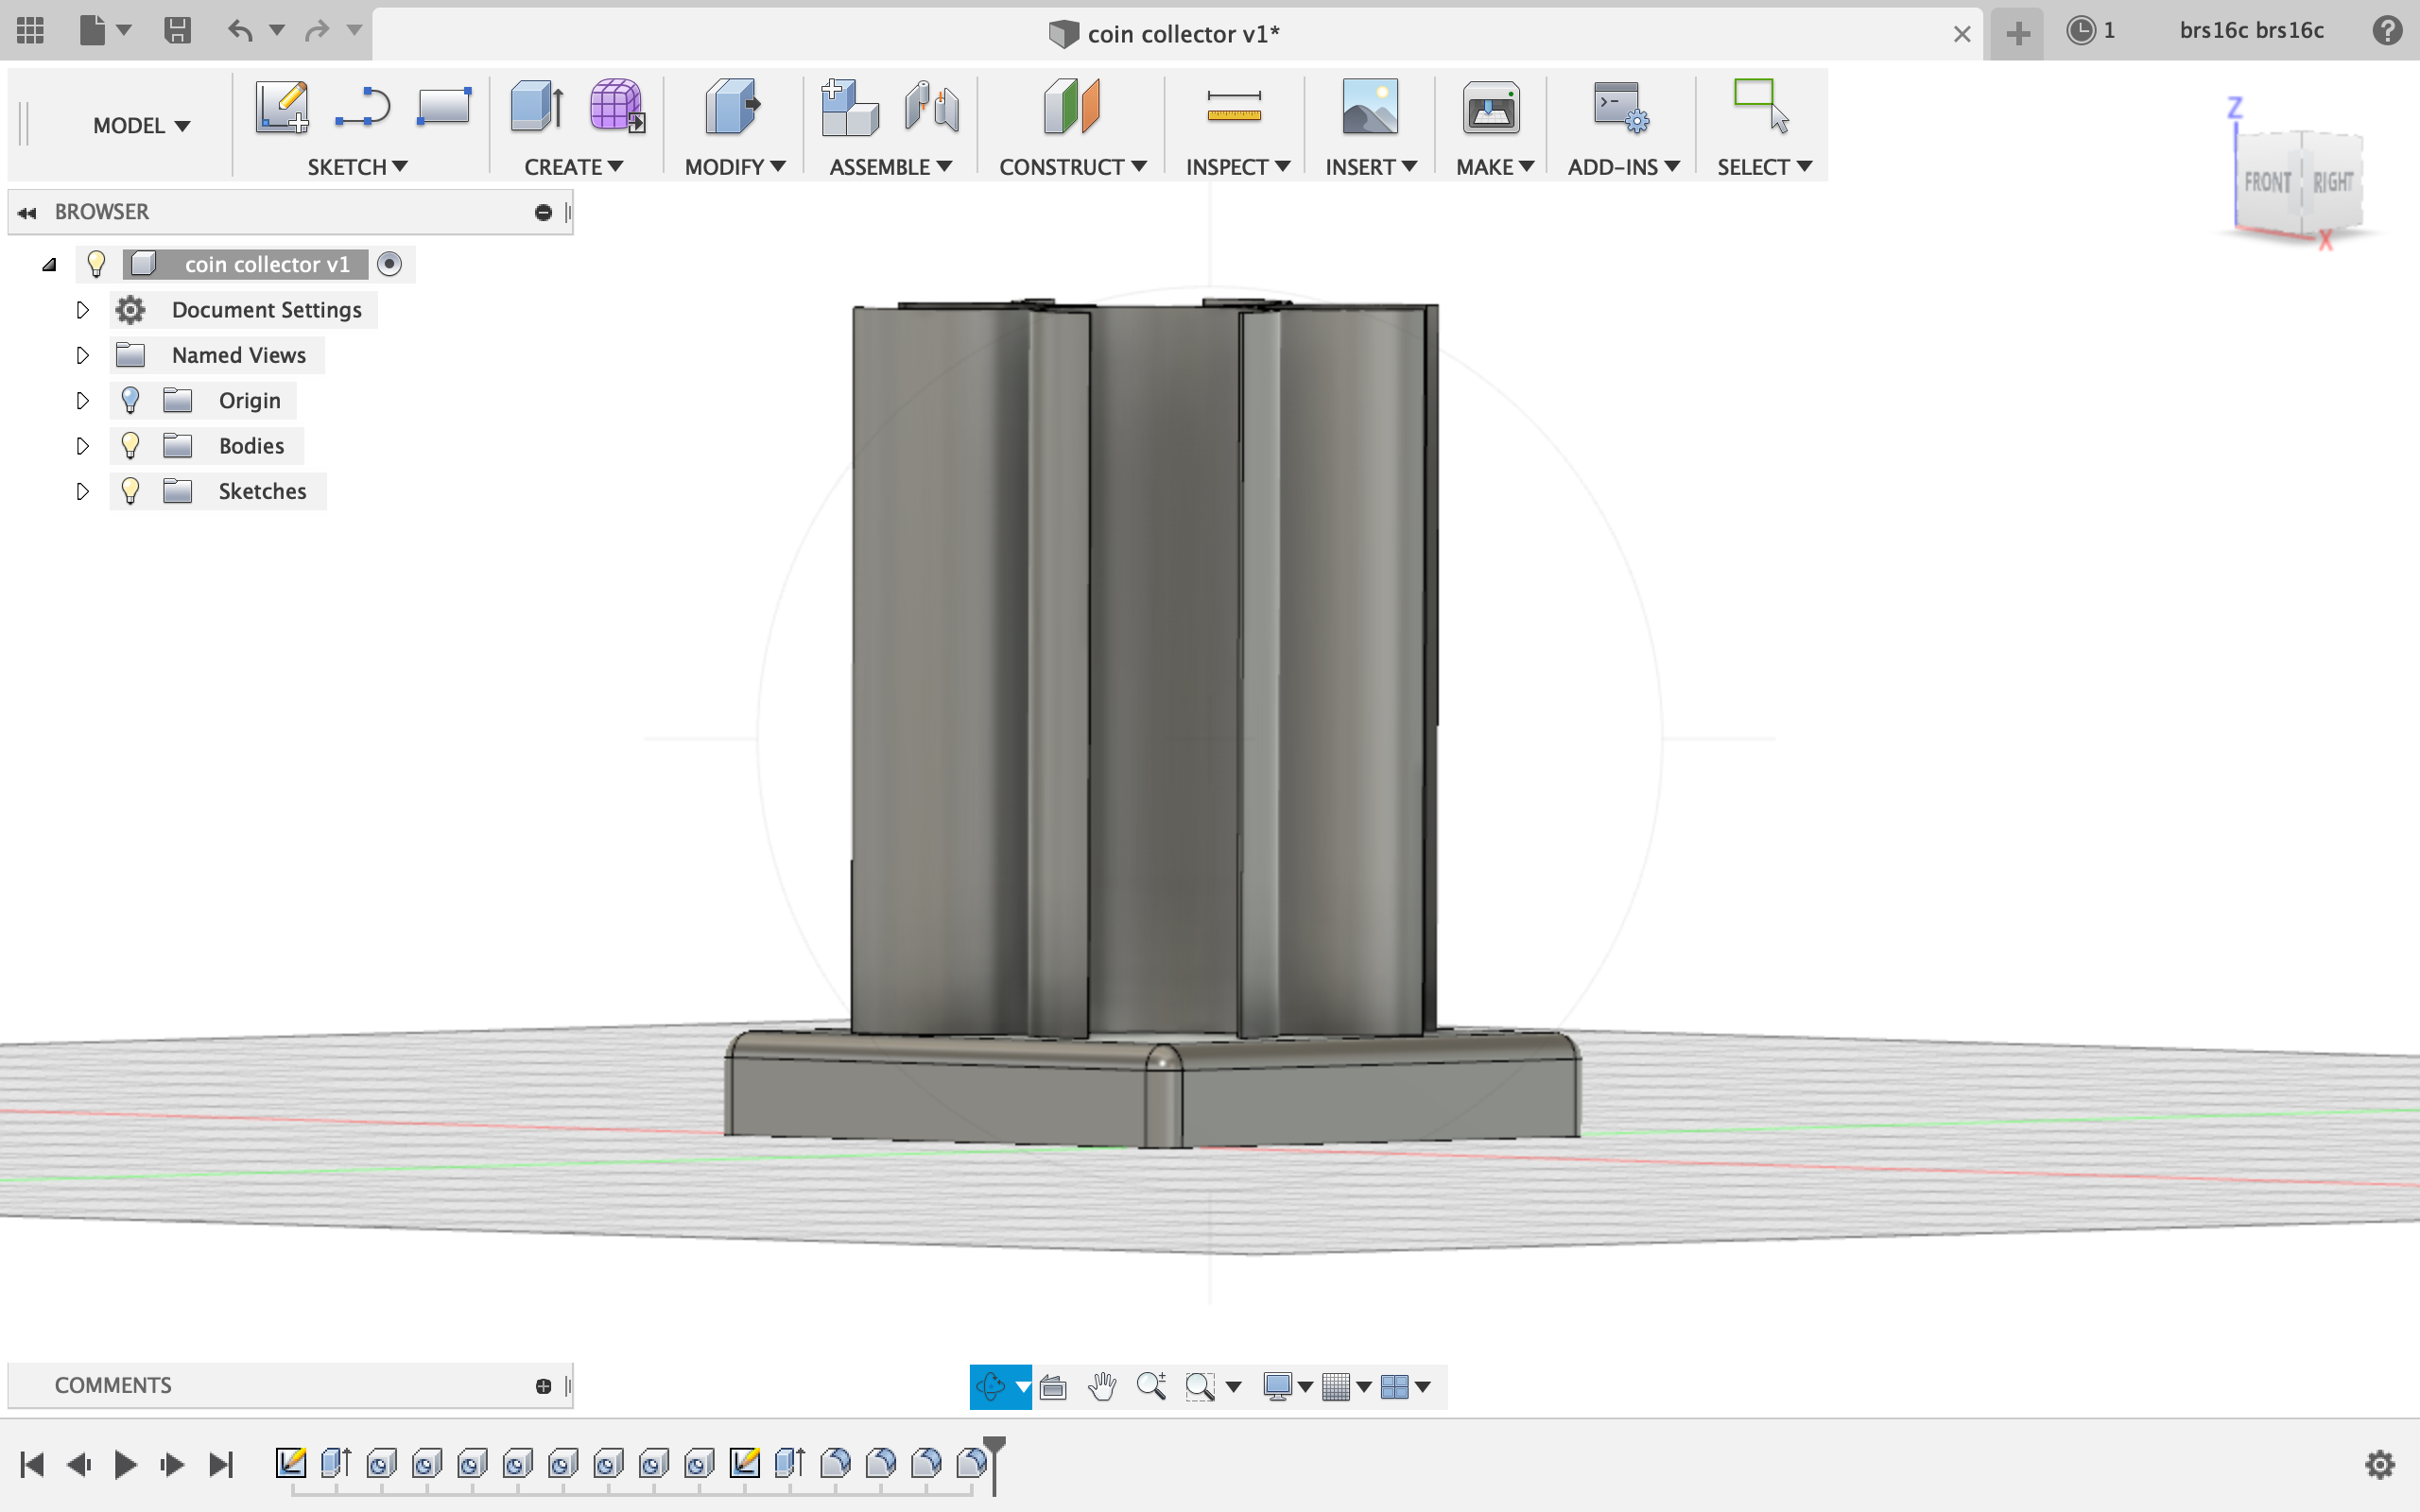
After this step, all I had to do was rotate to the bottom and create a sketch of a rectangle 60x60mm which would act as a base for the coin holders. I then extruded the base 10mm in the opposite direction and used the join feature to join the 2 halves.
Here is the finished product:
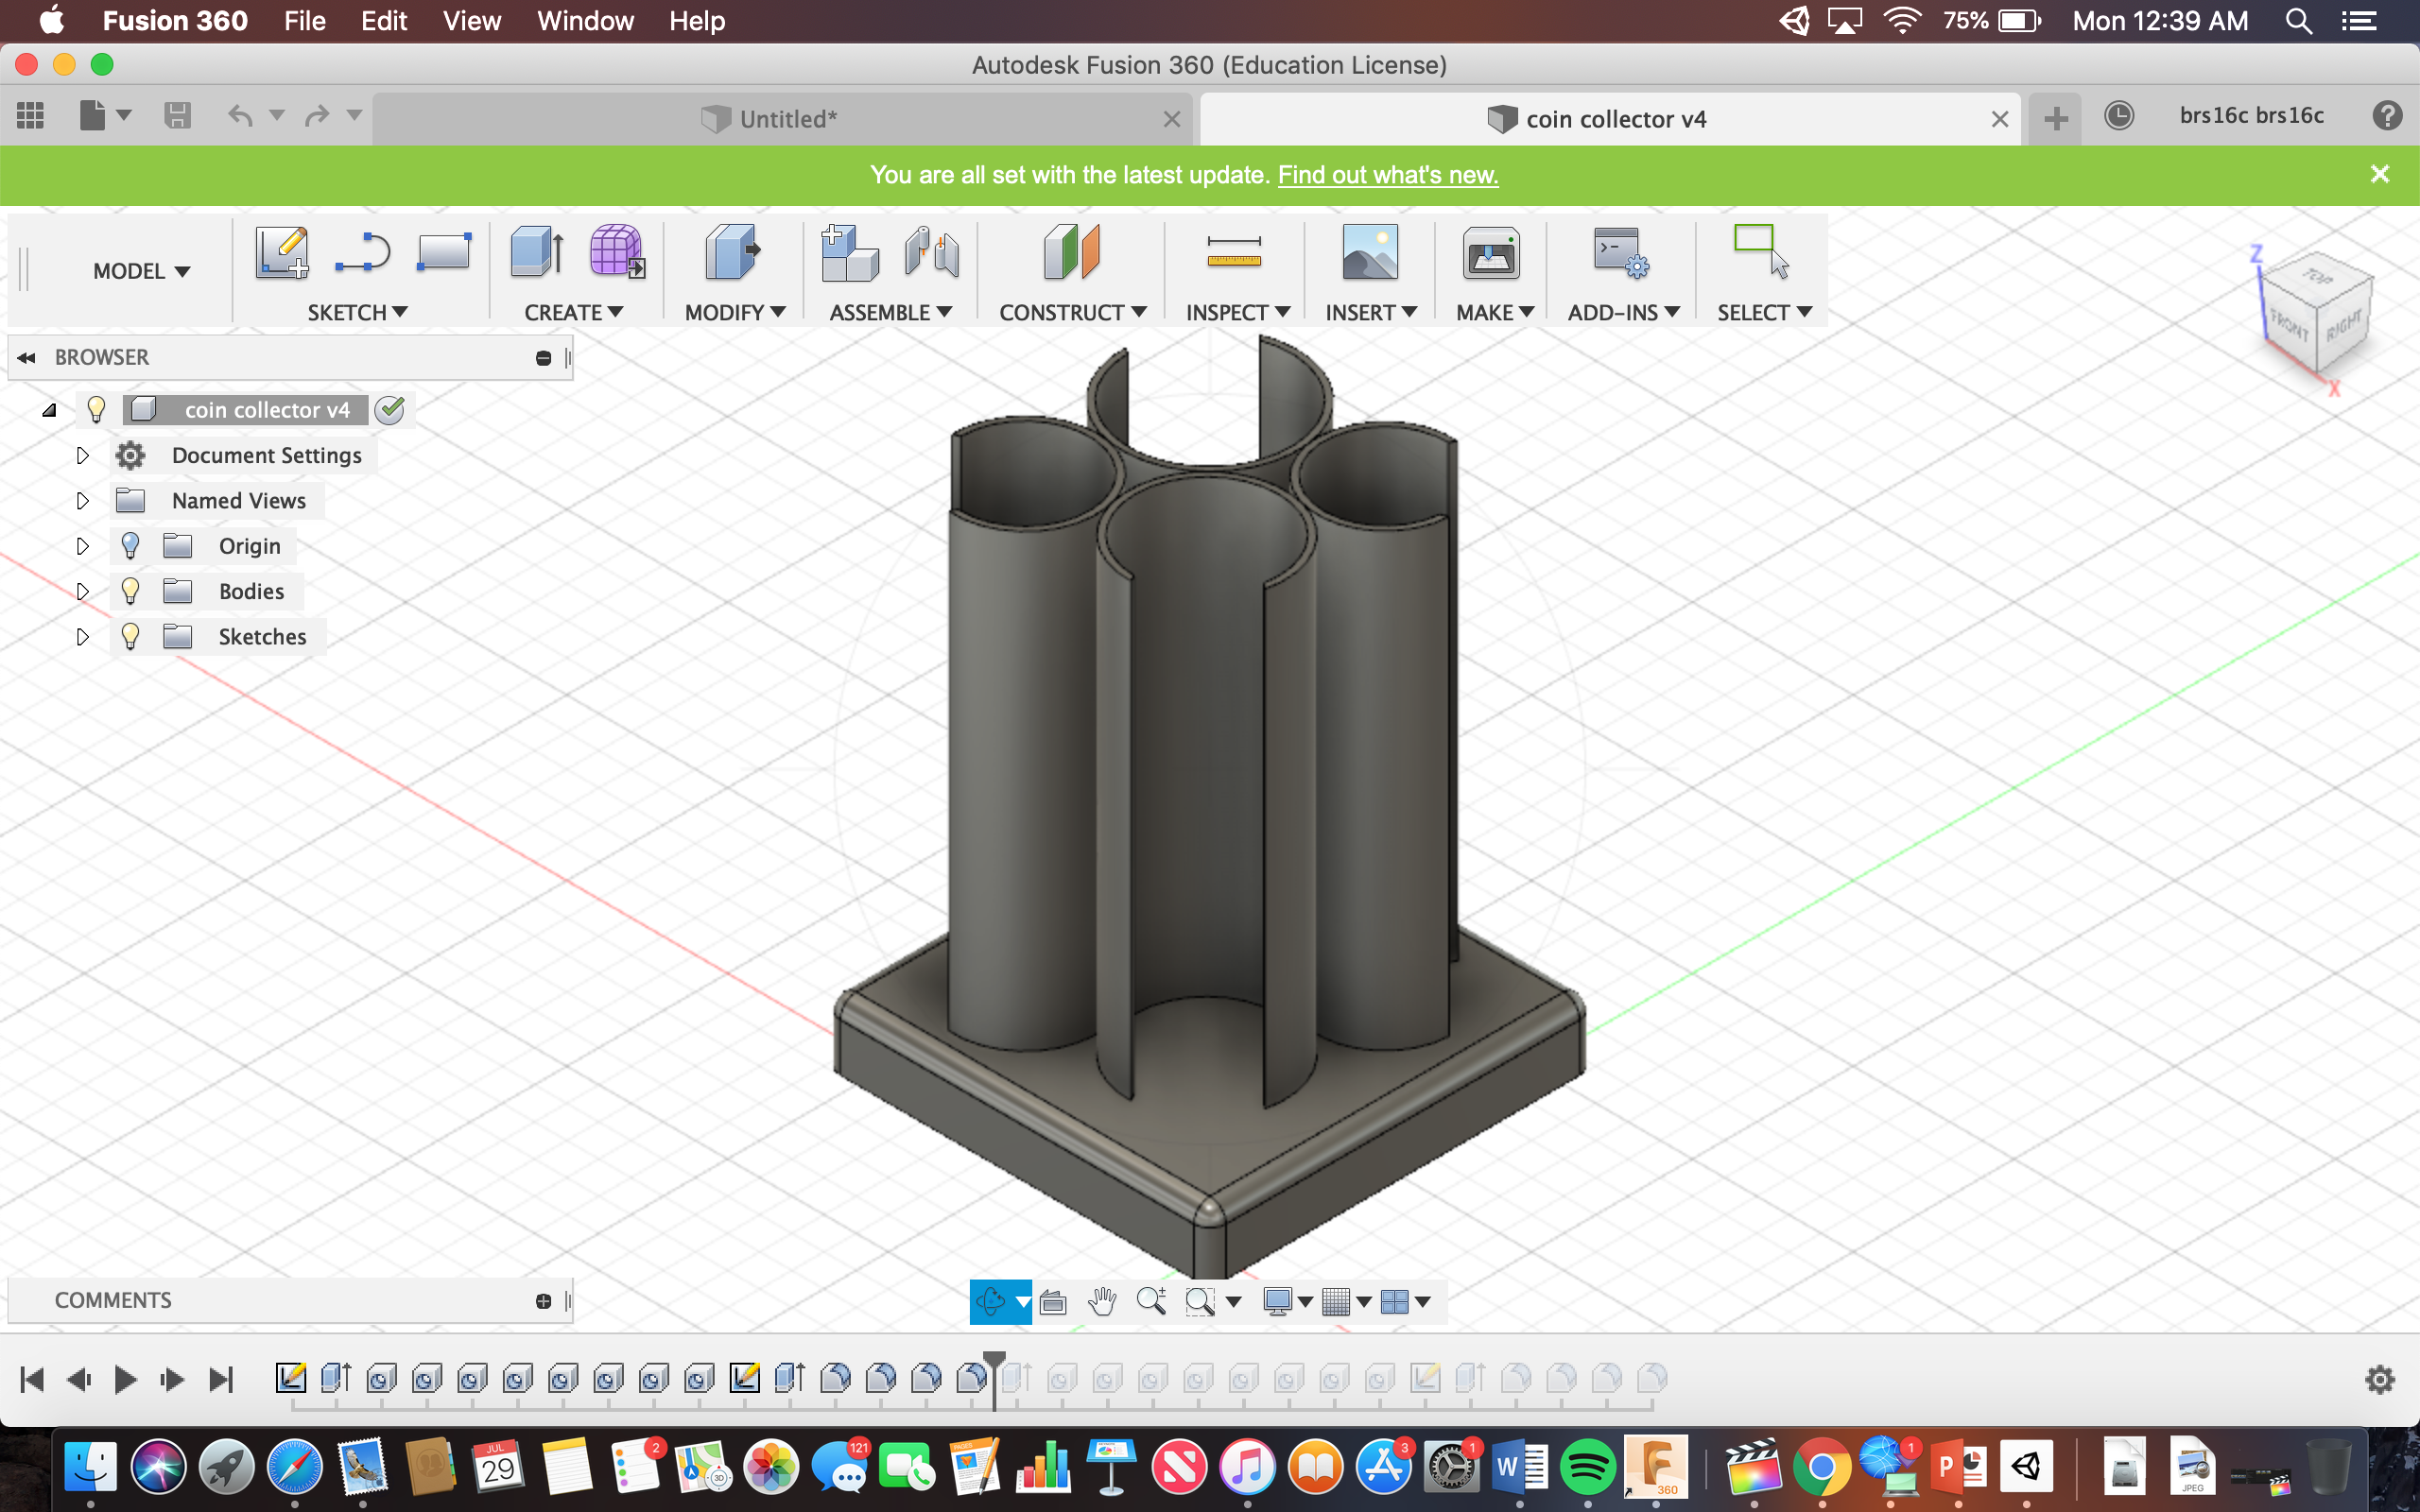
The holders are 75mm deep which can hold at least 27 of each kind of coin.
