The final step in my fabricating for a function project went really well! I didn’t have to edit my model at all in Meshmixer or DREML, and the only things I changed other than the default settings in DREML was to uncheck the generate supports box and to make my design print with medium quality (only because the walls of the coin holders were only 2mm thick so I wanted to make sure they didn’t come out as spaghetti). Luckily, I started the printing process early and sure enough, on my first attempt at printing, the printer malfunctioned and half of my print air printed. After determining that the structure of my model was not the reason for the air print, I reprinted it and came back the next day and it came out good. Here are some photos of my print in use with coins:
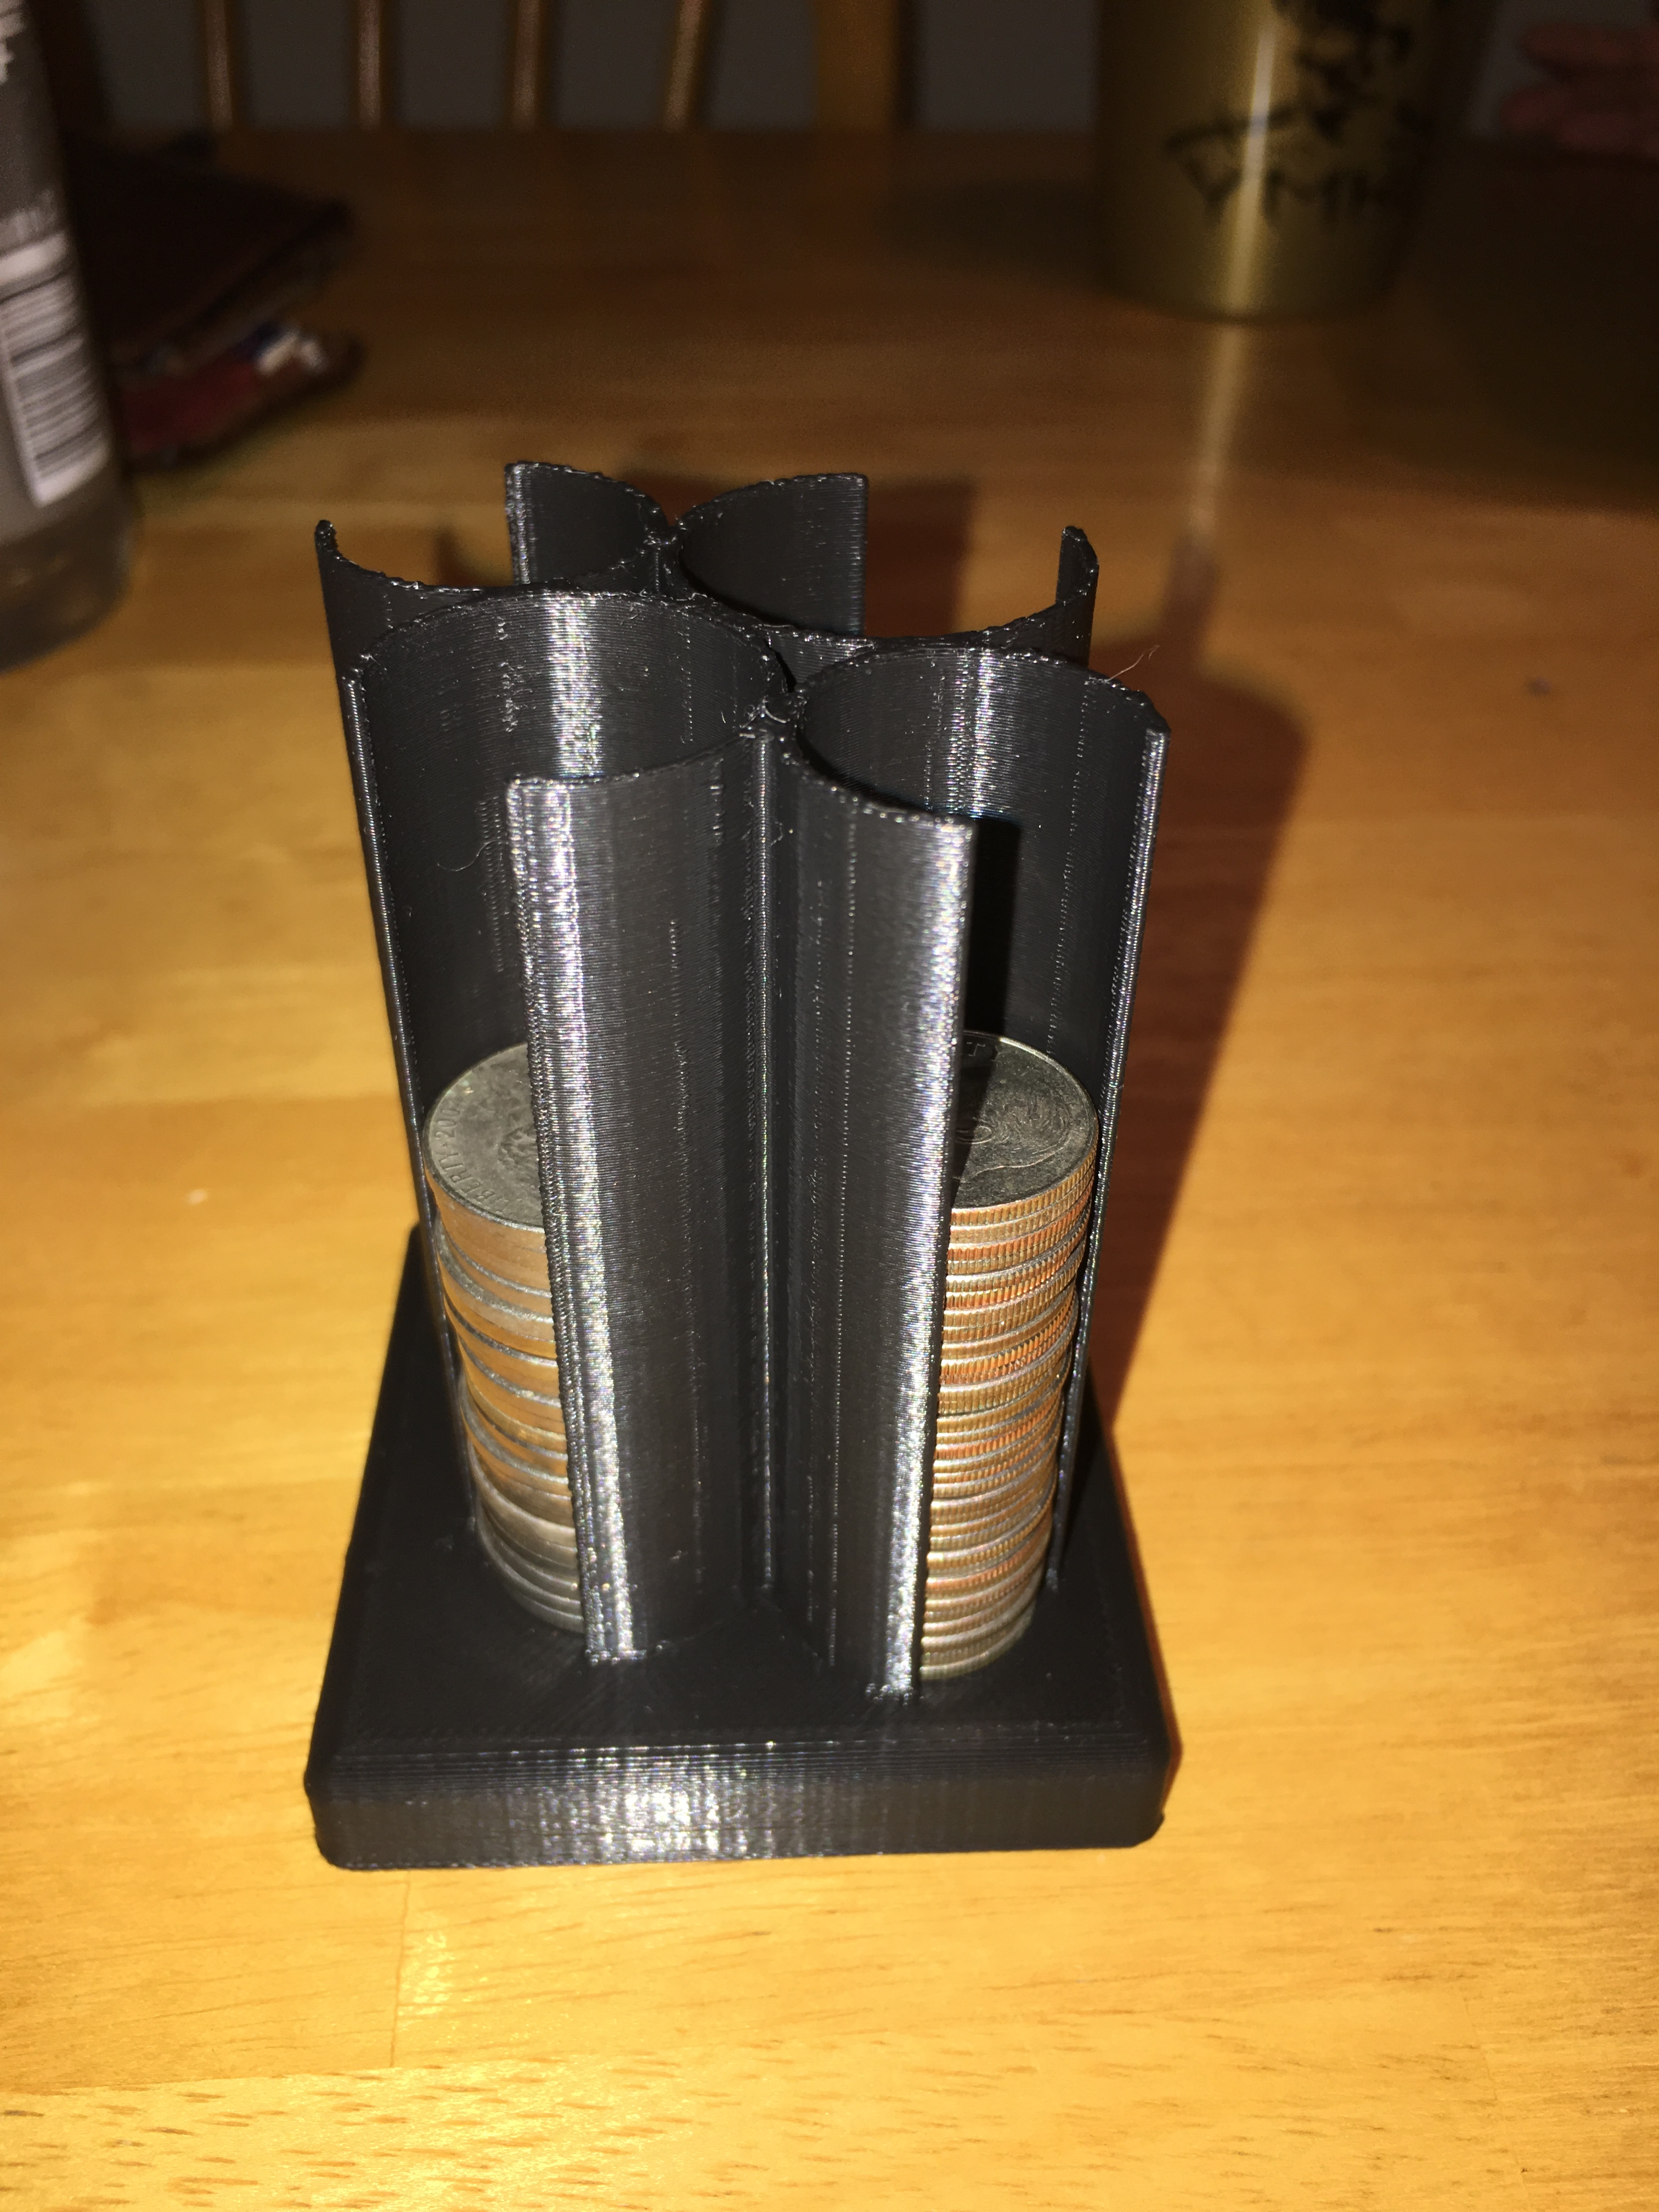

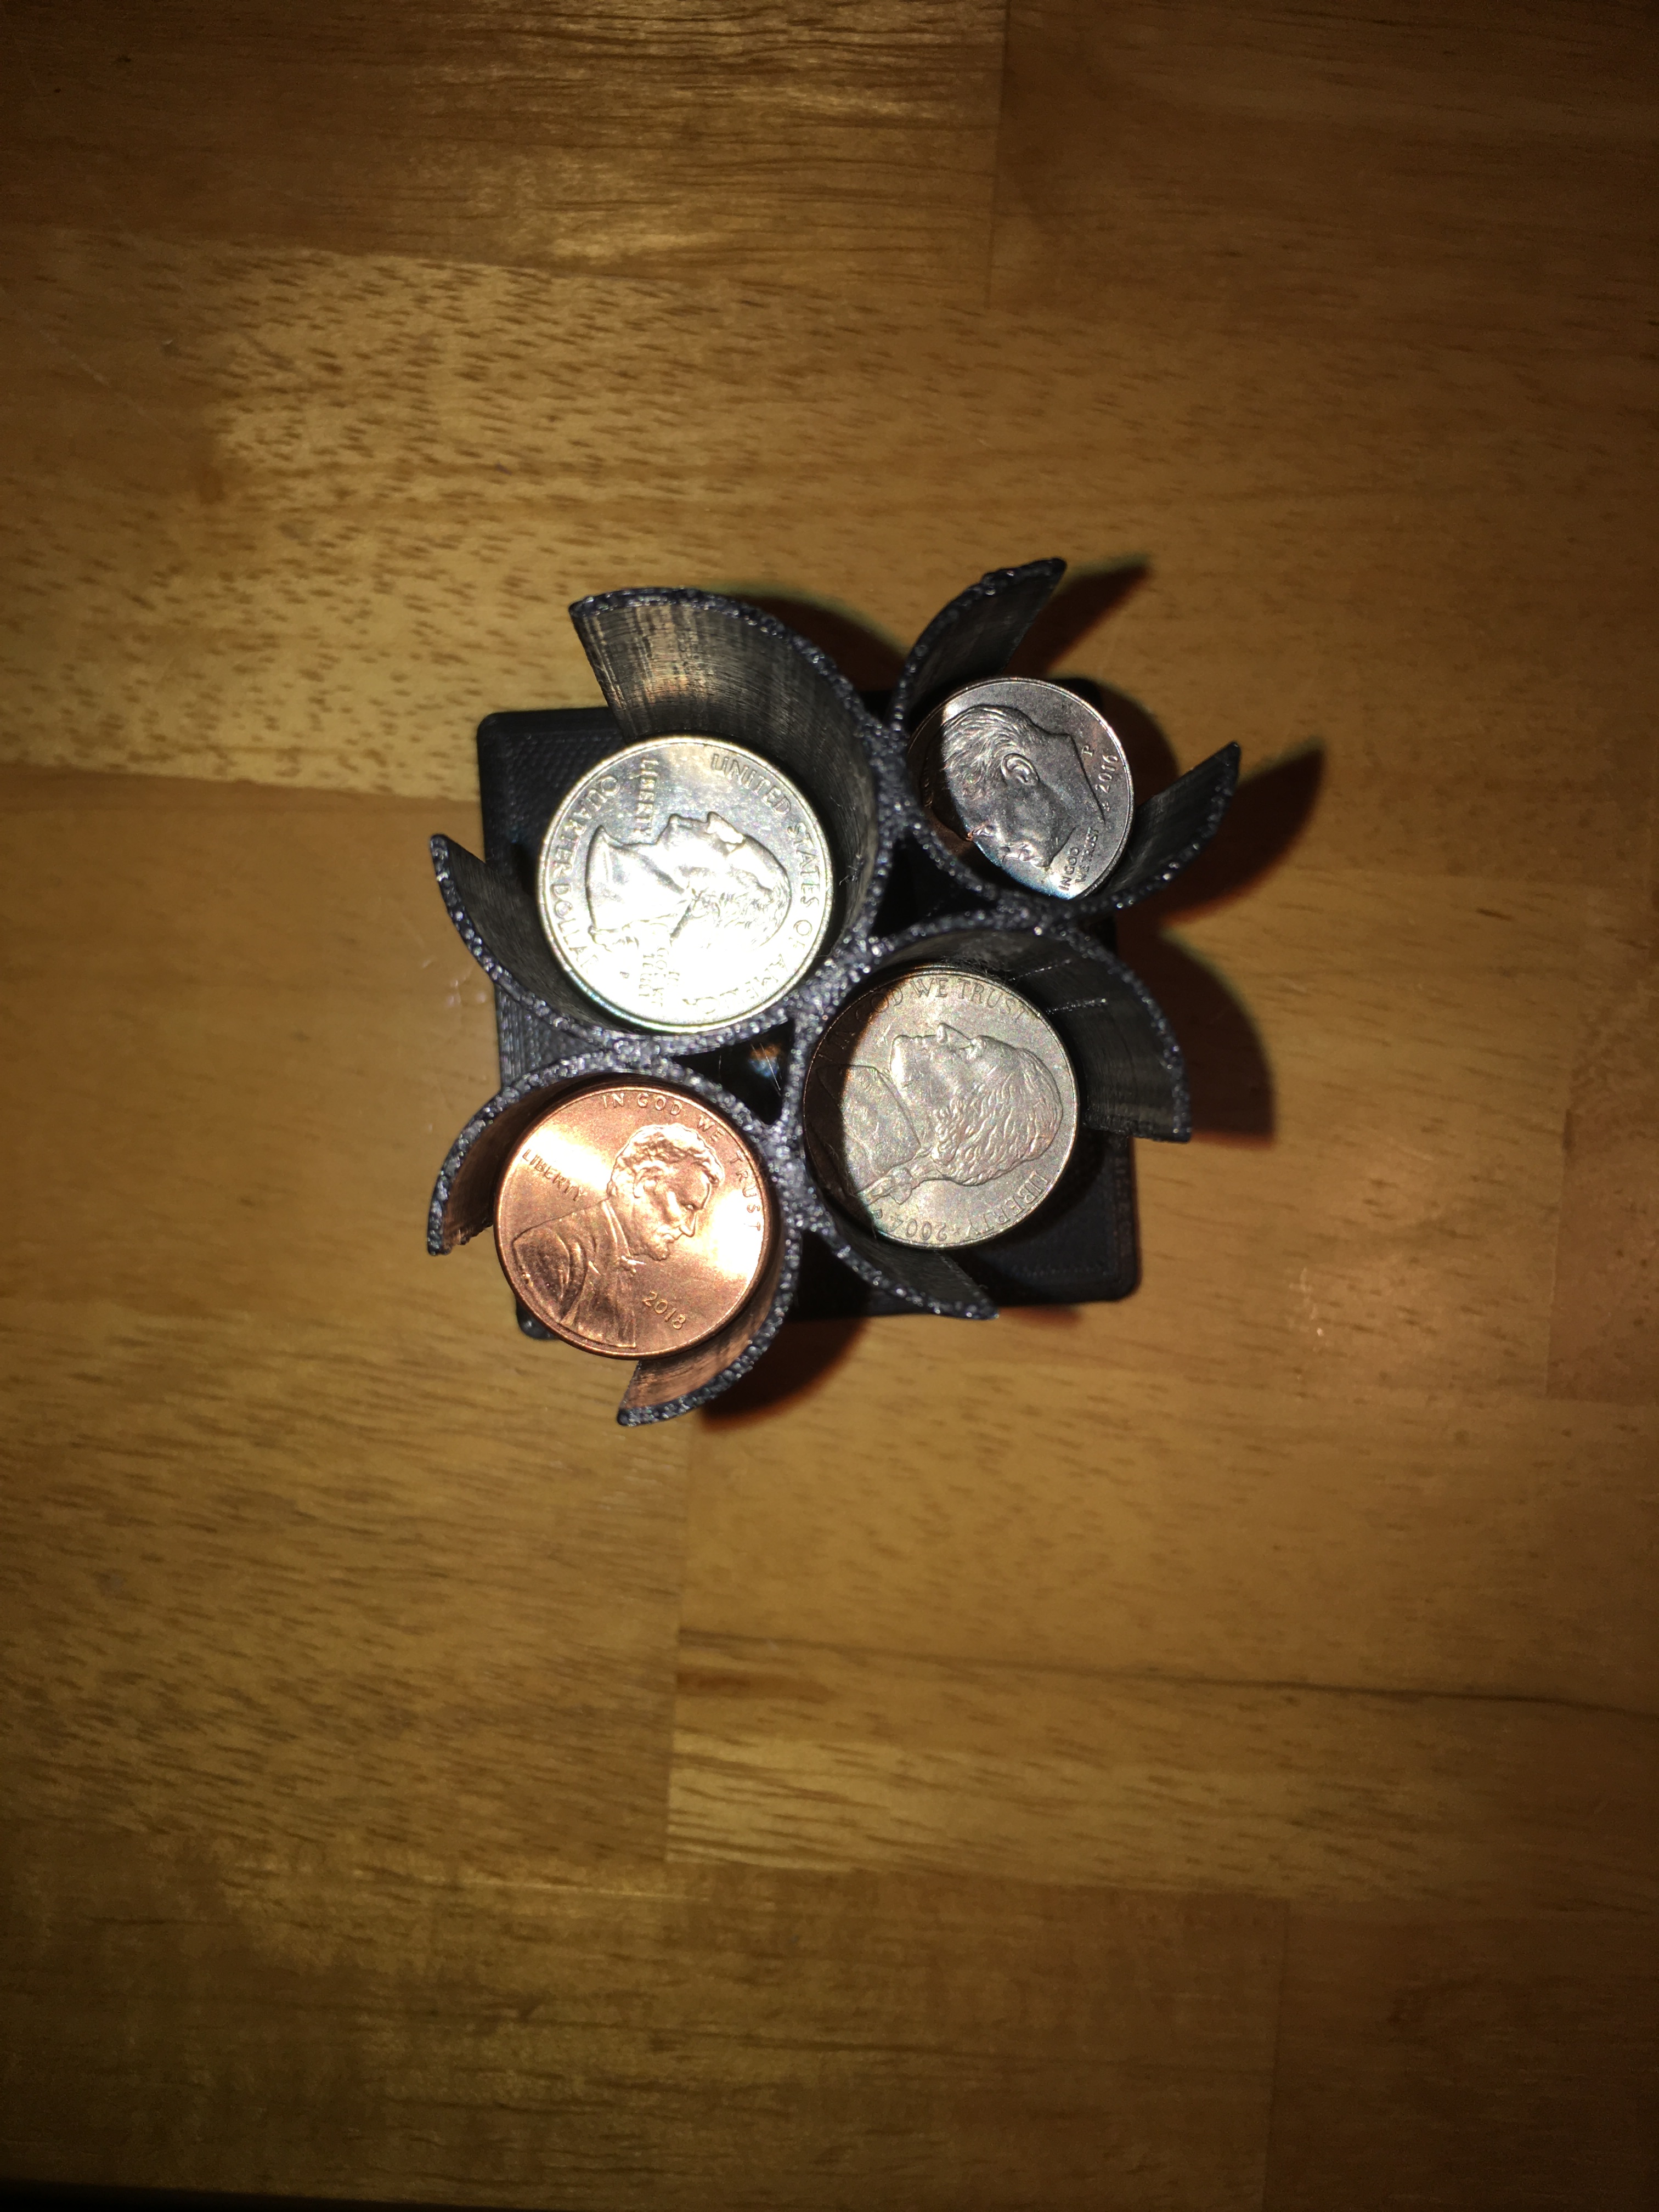
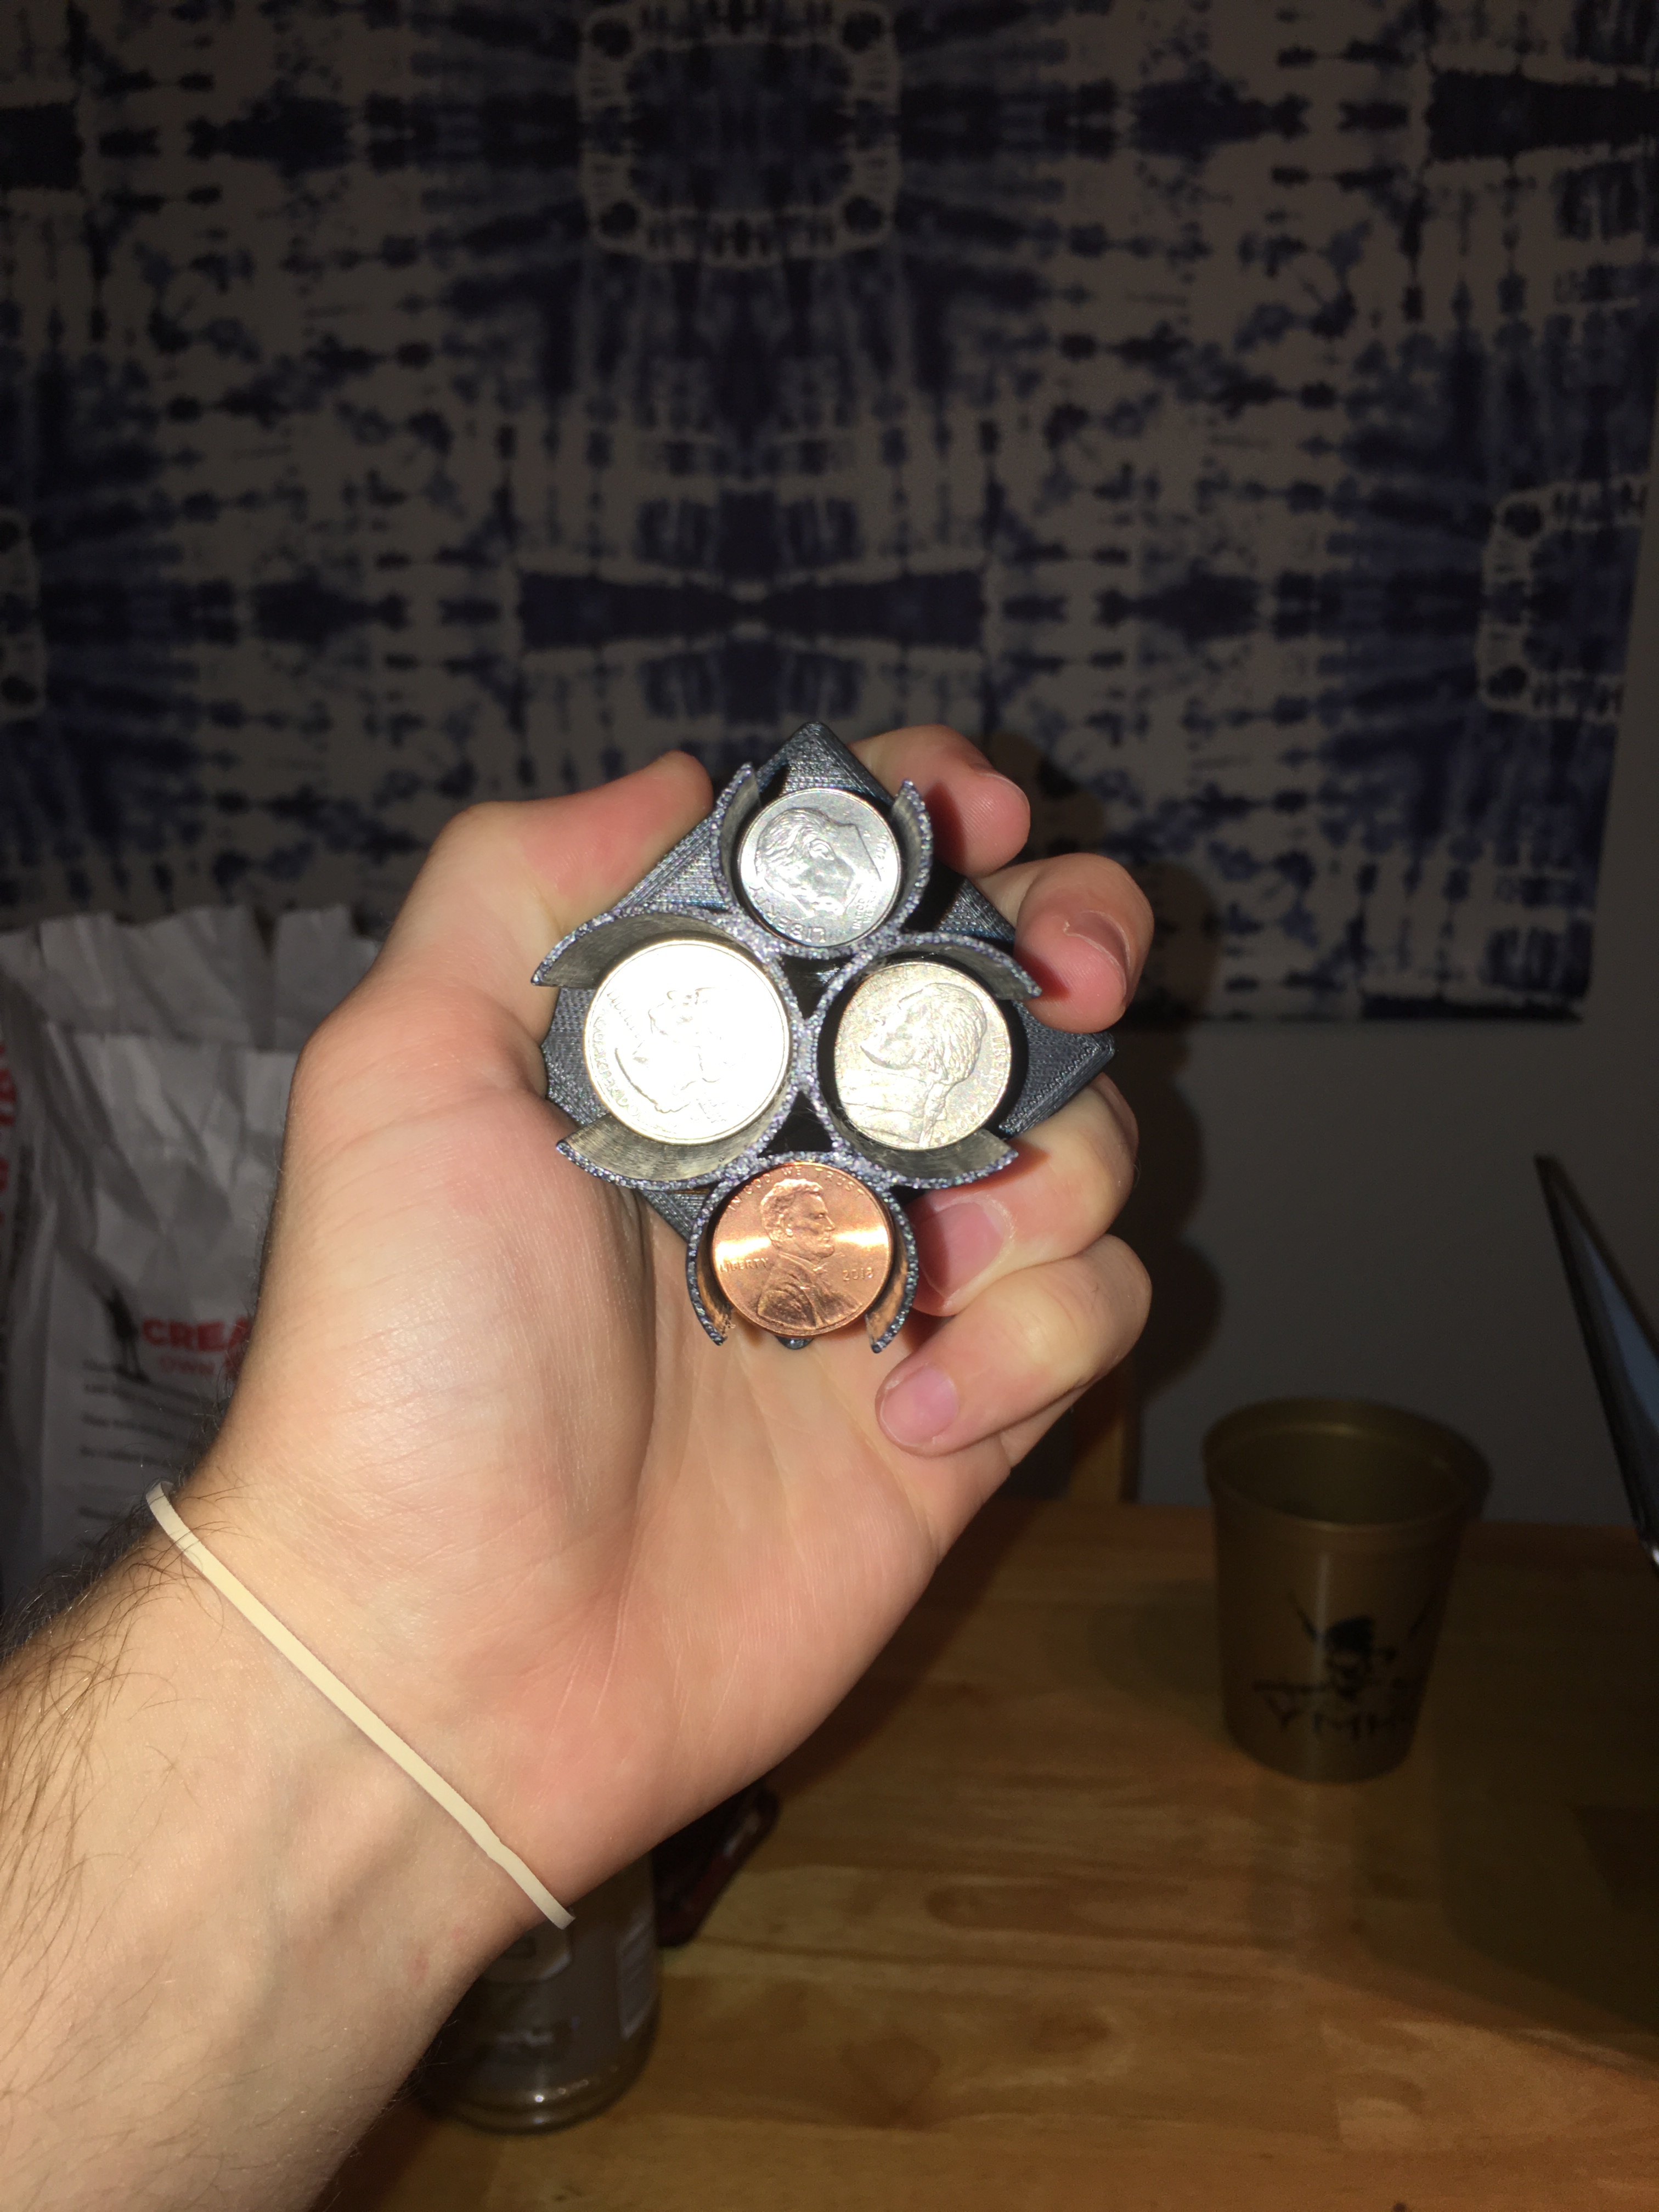
I think the reason my print turned out so well is because of the precise measurements I used while creating my model. The 2mm thick walls were just thick enough to be stable yet still thin and the 1mm larger hole than each respective coin was the perfect size to allow the coins to slip in the holes yet not jiggle around or fall out. Overall, I think this project turned out very well and I’m happy I now have something cool to put on my desk to hold my coins. The process of 3D printing that we learned in class is definitely something I will revisit in the future if I ever have any ideas of things I can print to solve a problem or just to make something cool.
